Showing posts with label DIY. Show all posts

Thursday, May 10, 2012

Z19 Crossover Update

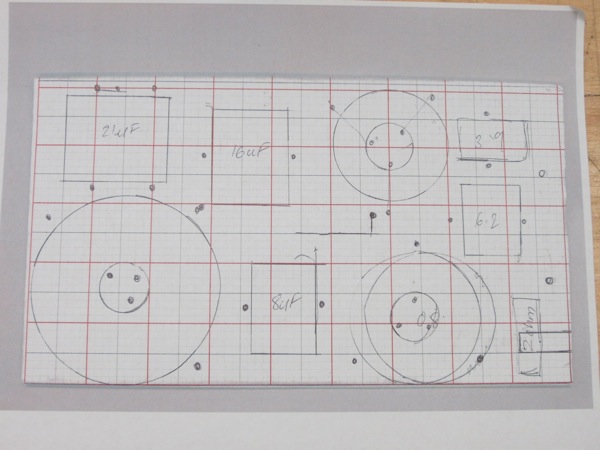
Further progress : Layout of components traced out on graph paper :
IMG 0989


Mounted all the components with tie-wrap on PC Board for one channel : IMG 0991


LPAD mounted on front panel of chassis :
IMG 0994


LPAD side-views :
IMG 0997

IMG 0996


Next steps :
  • Mount speaker binding posts
  • Repeat above steps for second channel
  • Wire components on both boards as per schematics

Sunday, May 6, 2012

D3A phono complete (almost !!)

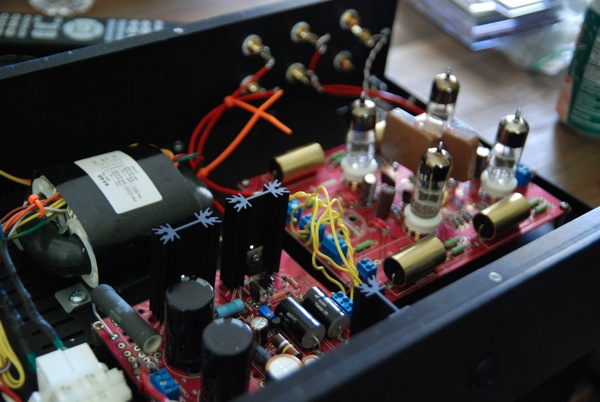
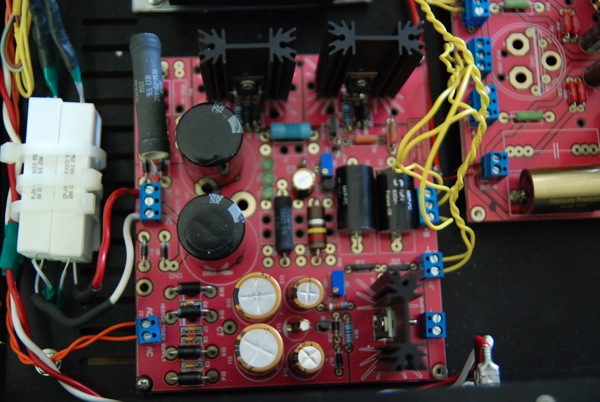
This project took the longest time to complete, but it is finally done (almost).Still need to tweak for the input impedance - right now the default loading is at 50K. Maybe use a linear pot like Edwin did on his initial phono stage designs. My initial impressions are that it is quiet for a tube phono stage (no low-freq hum). It is also detailed sounding maybe a littled tipped to the high frequency, but I think I might be able to workaround with changing the loading impedance. This project is collaborative effort on diyaudio.com - the shunt regulated high voltage power supply is designed by Salas in Greece, the phono stage is designed by Andrea Ciuffolli in Italy and the PC boards designed by Quanghao in Vietnam. I'm using an enclosure from par-metal - nothing fancy but does the job for this project.
DSC 0403

DSC 0404

DSC 0405

DSC 0406

DSC 0407


Some features I need to incorporate in the future :
  1. Toggle Switch MM & MC
  2. Install Altec 15095A
  3. Loading option using a Dual Linear 100K Pot or Stepped Attenuator
  4. Re-orient the phono board

Saturday, April 28, 2012

D3A Phono Build - 0427

Connected Phono Board to PSU and hook'ed up to input and output RCAs Found that the on the input side, the "GND" silkscreen was reversed. Banged my head trying to find out why I wasn't getting sound only on one the left channel. Found that I had not connected B+ to the right channel. DOH !!! Ahh.. finally got sound out of both channels ! Amazing detail thru the Stax Lambda headphones using the iRIAA and iPhone. iPhone -> iRIAA -> D3A phono -> T-Amp -> Stax Lambda == Smiley Face


Next steps :
  • Re-orient boards

  • Run all joints thru a round of solder

  • Install resistors on the secondary after parts get delivered

  • Try mounting 15095A in the chassis for MC functionality (possibly MU metal shielding)

  • Install switch for switching between MM/MC

  • Install shielded hookup wire
  • Heatsink solution for MOSFETs if they don't run cool even after installing the power resistors on and dropping B+ to 200 (current set to 220V)

Thursday, April 26, 2012

D3A Phono Build - 0426

Tasks Completed :
  • Bored hole for power switch on the face plate ; used 0.7" drill bit
  • Completed wiring for power switch
  • Completed extending secondary heater wiring
  • Tested power on with switch - tested okay
  • RCA female plugs are painful to tighten. Looking at Neutriks :
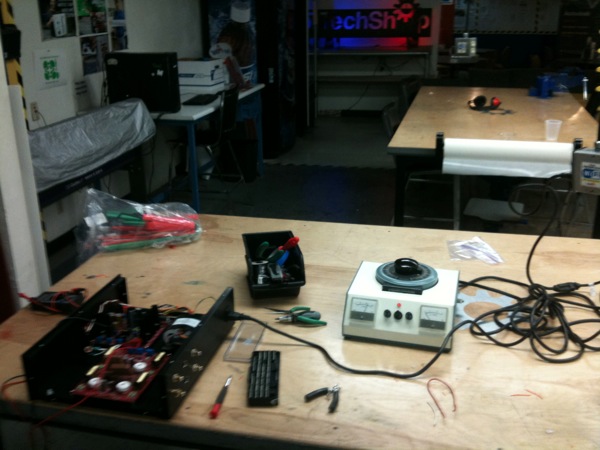
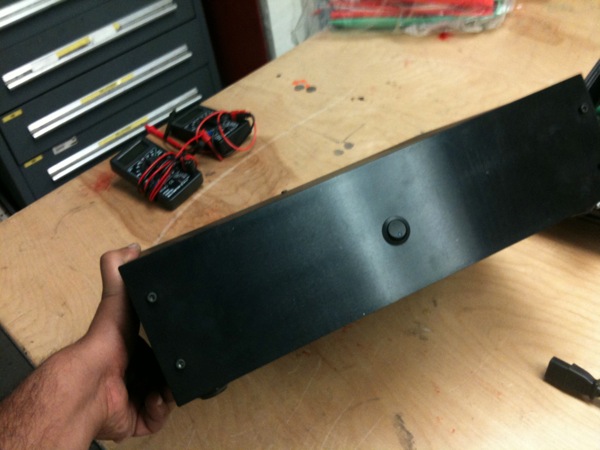
    • D3a techshop 4 D3a techshop 1 D3a techshop 3 D3a techshop 2


        To Do :
      • check ground wiring
      • use hookup wire to hook RCAs
      • solder terminal posts
      • connect to main D3A phono board ; test B+, H+ voltages
      • connect iRIAA and test

Monday, January 26, 2009

Randall Museum Tube Audio D.I.Y class

Finally the DIY'er in me in unleashed ! The Randall Museum in San Francisco is offering a Tube Audio D.I.Y class this winter session. This class provides the much needed hand-holding that I needed to start off a hobby project using vacuum tubes or thermionic valves (as the Europeans would say) for audio amplifiers.

The class is conducted by Edwin Yang, an avid SF Bay Area tube audio enthusiast and experience DIY'er. The project is to complete a simple line-stage pre-amplifier based on the EF86 pentode.

flyer1.tiff

I intend to log the progress of this class until the completion of the line-stage pre-amp for about 6 weeks. So stay tuned....